DIY: Sewing Jar
By Natalie
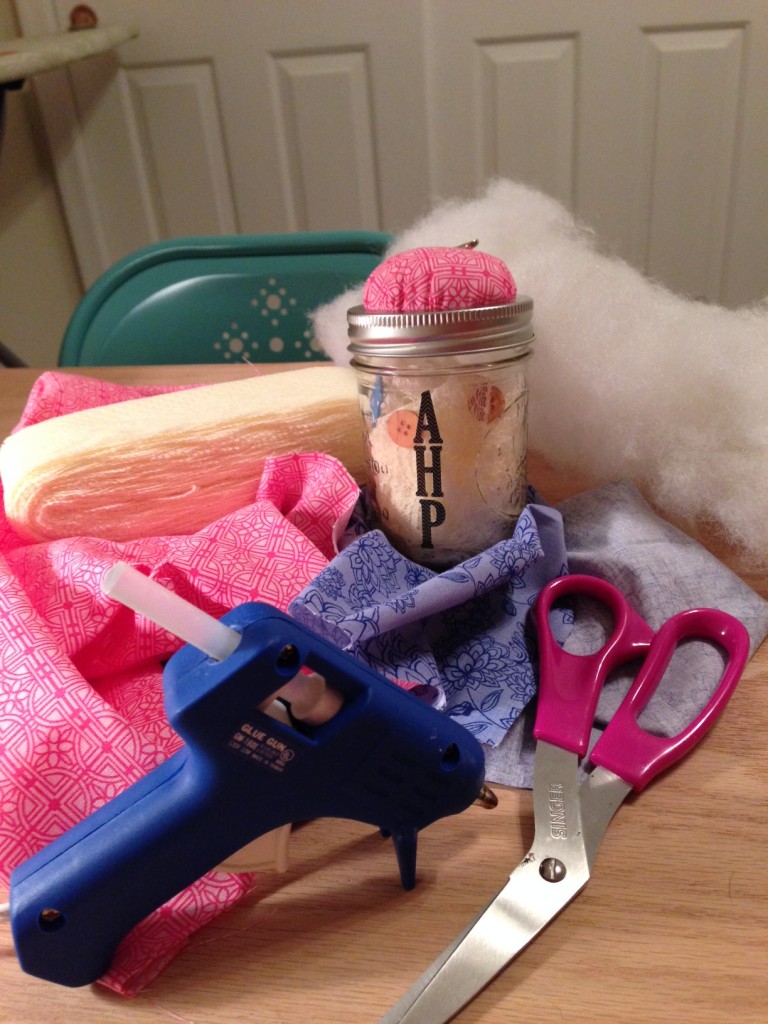
Here’s what you’ll need…
- Mason Jar
- Fabric
- Hot Glue Gun
- Scissors
- Fluff
- Things to decorate the outside such as card stock stickers (Optional)
Step One: Cut out a circle of fabric that measures about twice as large as your lid. Extra fabric can be cut if necessary. You don’t want to be left with too little fabric. Step Two: Place a ball of fluff on your fabric, and press the mason jar lid to it. Use a little more than you would think necessary. You want a fluffy top. 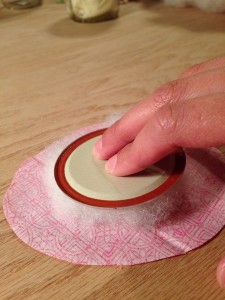
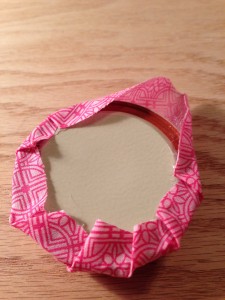
Step Three: Squeeze hot glue onto the rubber part of the lid, and press fabric onto the hot glue. If you feel like you need to add more fluff this is your last chance. When there’s a small opening like the picture shown below you can stuff more fluff in before you seal the circle.
Step Four: Place lid on top of mason jar and screw the second lid over it. Because of the hot glue and the fabric the lid will not screw on all the way down, but it should still be able to close.
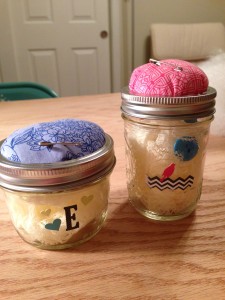
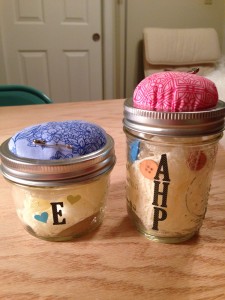
Step Five. Add any decorative things you’d like on the outside. Place push pins in the top, and any sewing materials you’d like on the bottom. Such as bobbins, buttons, pins, measuring tape, etc.
I made these as gifts for Mother’s Day, So I tossed a long piece of lace and buttons in the jars for looks.
Enjoy!

