Archive of ‘Homemade’ category

DIY: Decorative Gift Bags

By Natalie

photo 1

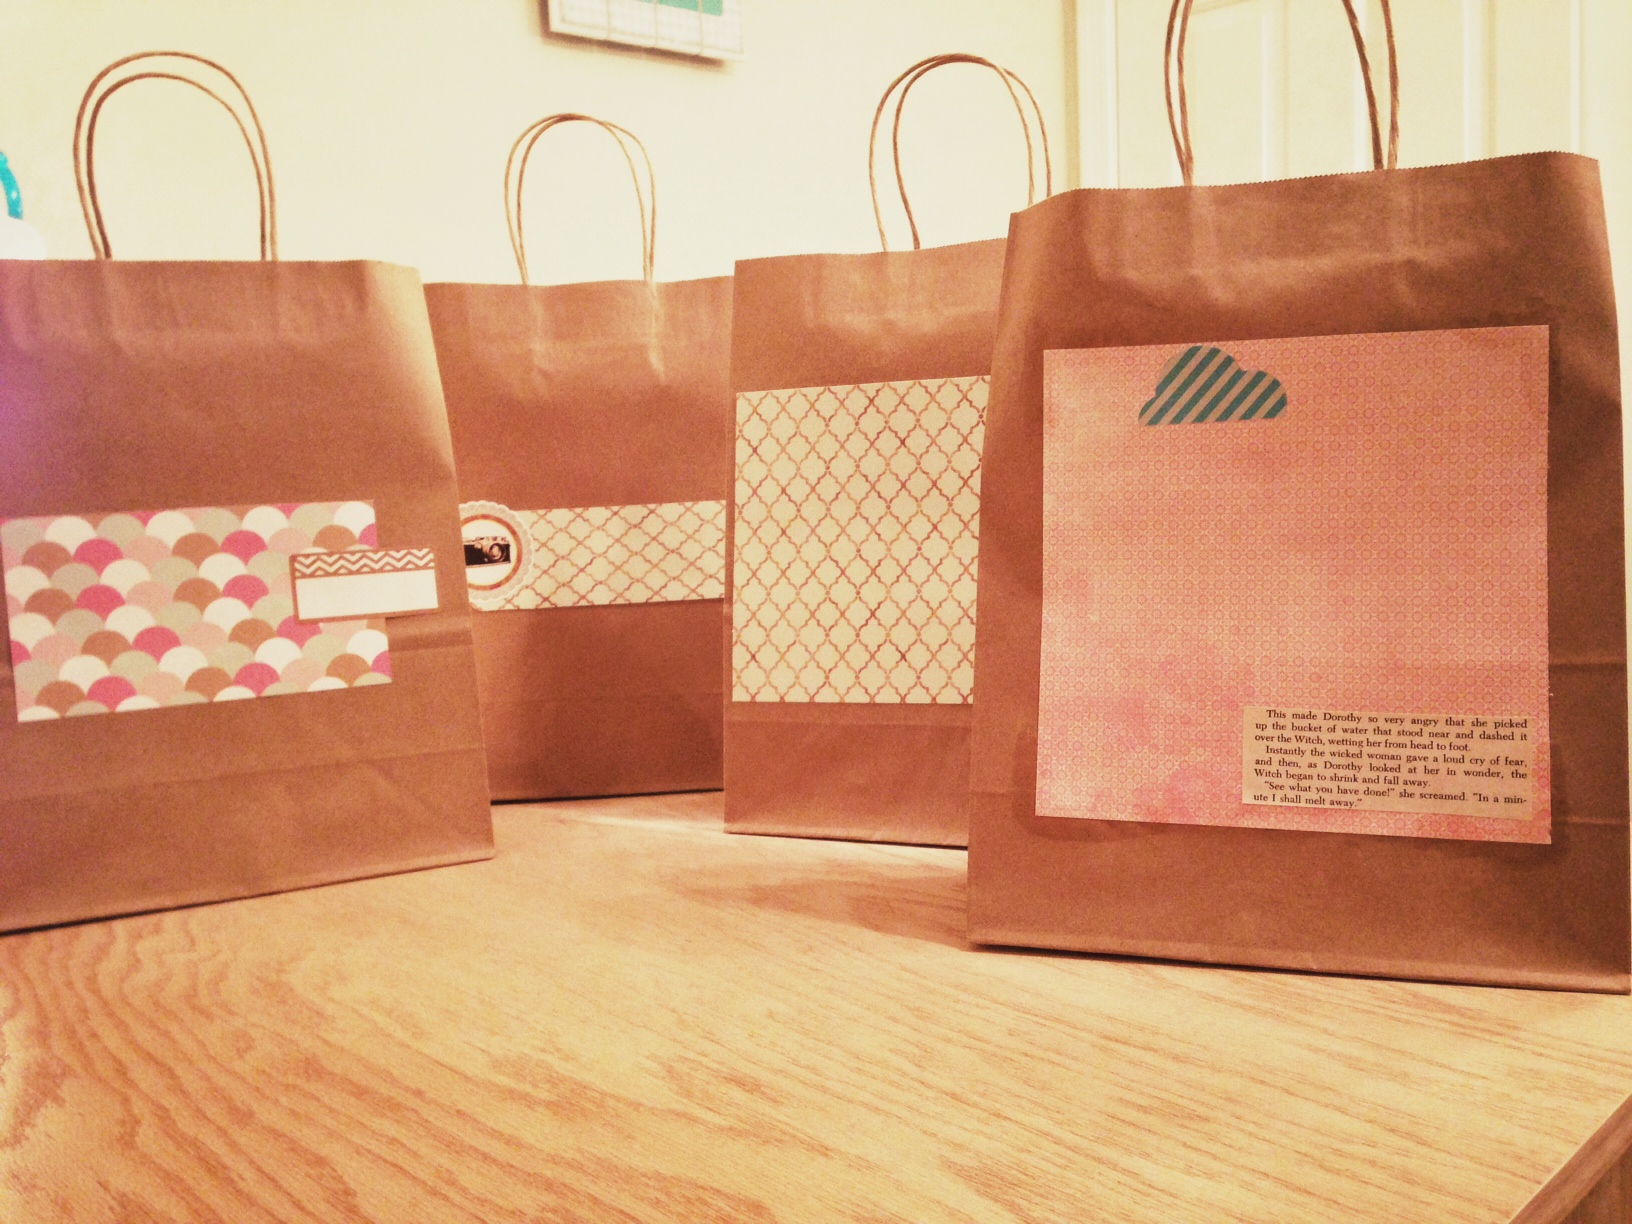
I snagged these medium sized brown bags a few weeks ago, and while they’re perfect in their own little brown paper bag way I felt the need to dress them up. If you’re looking for a simpler more personal look for your gift giving this year this is the perfect project for you.

Here’s what you’ll need…

  • Brown Gift Bags
  • Scrapbooking paper, or Cardstock
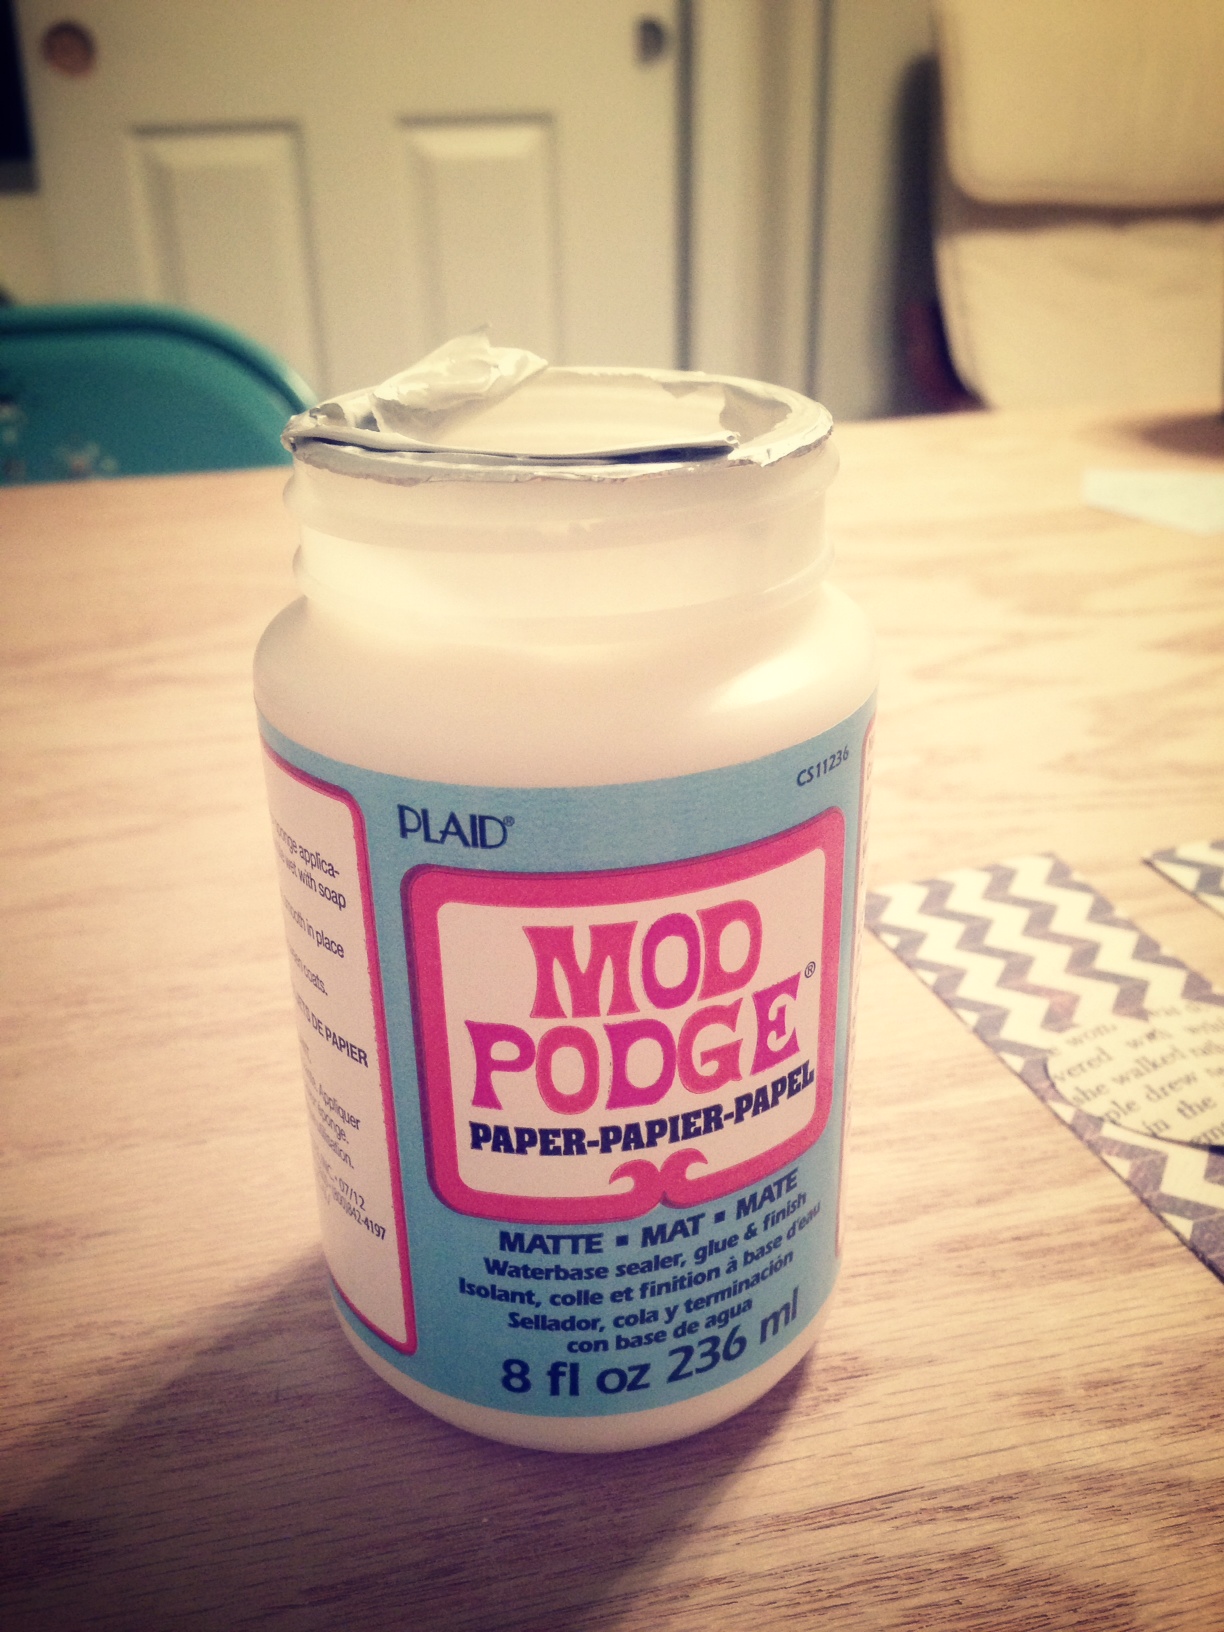
  • Adhesive
  • Cardstock Stickers (Optional)

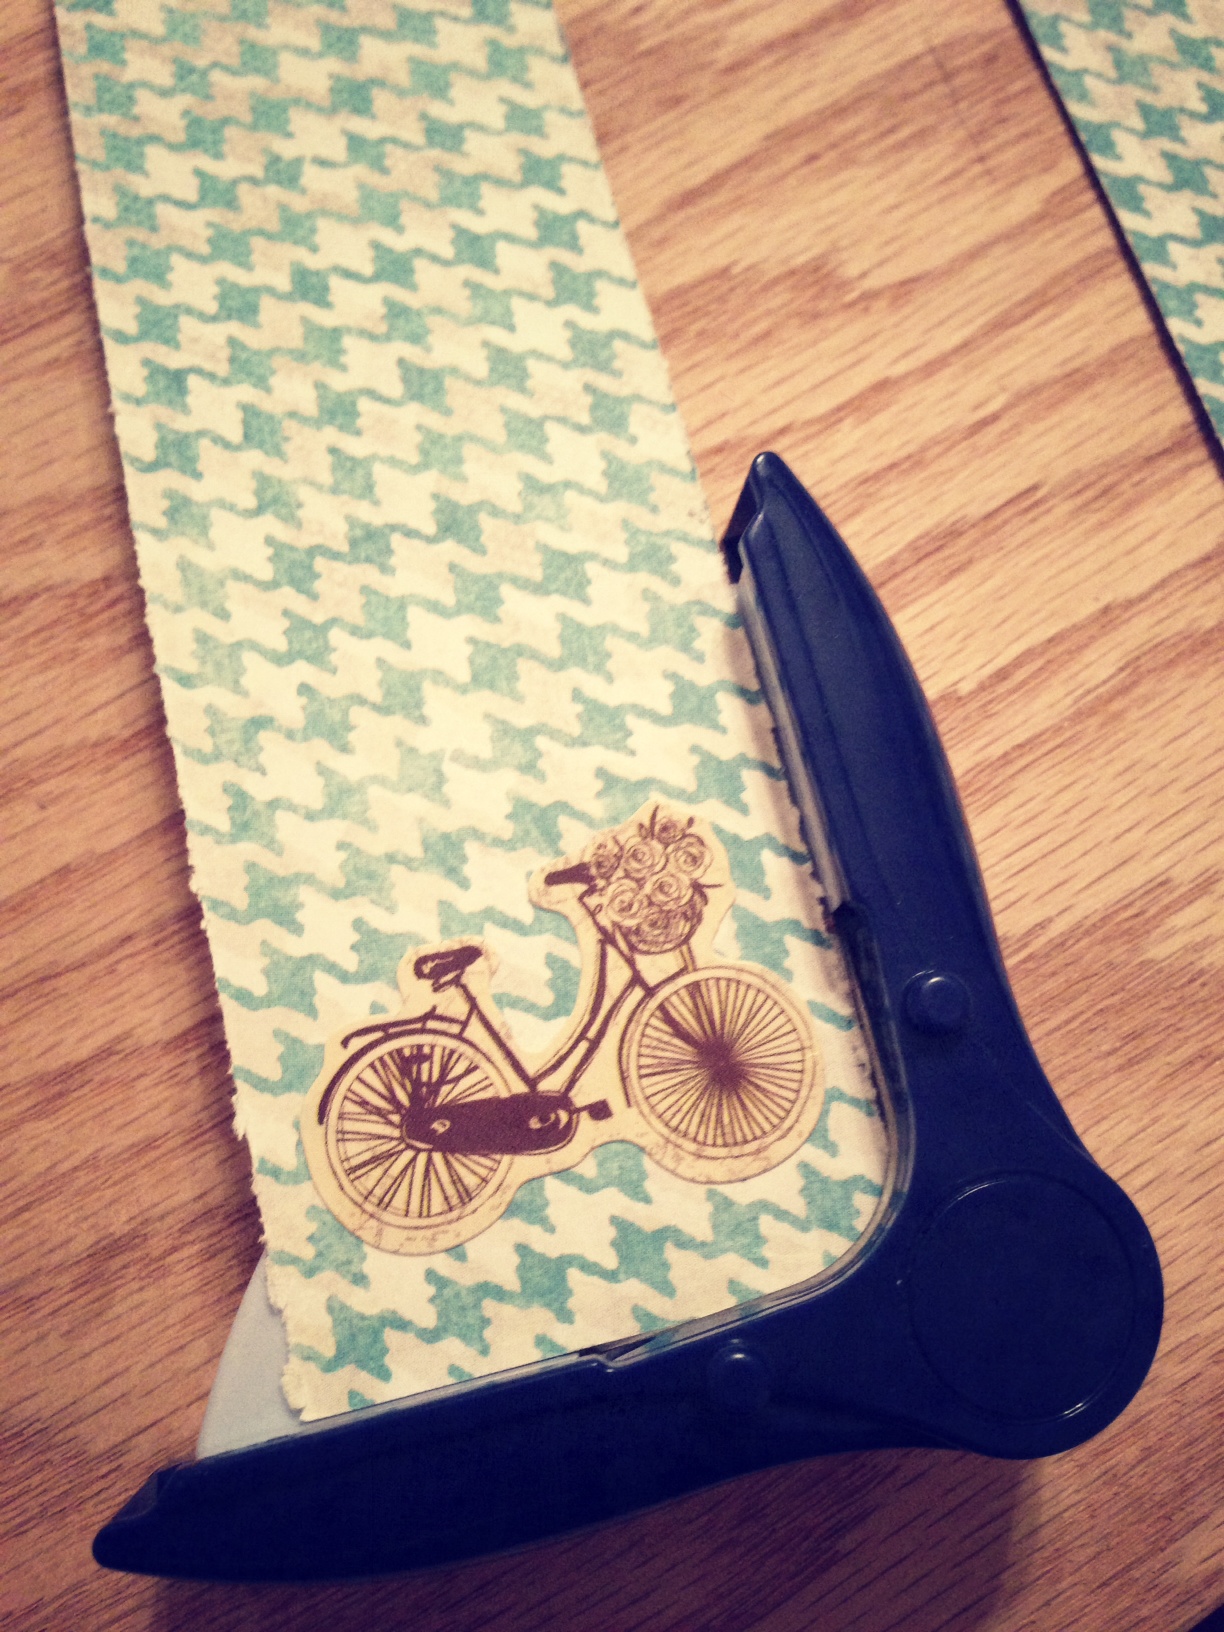
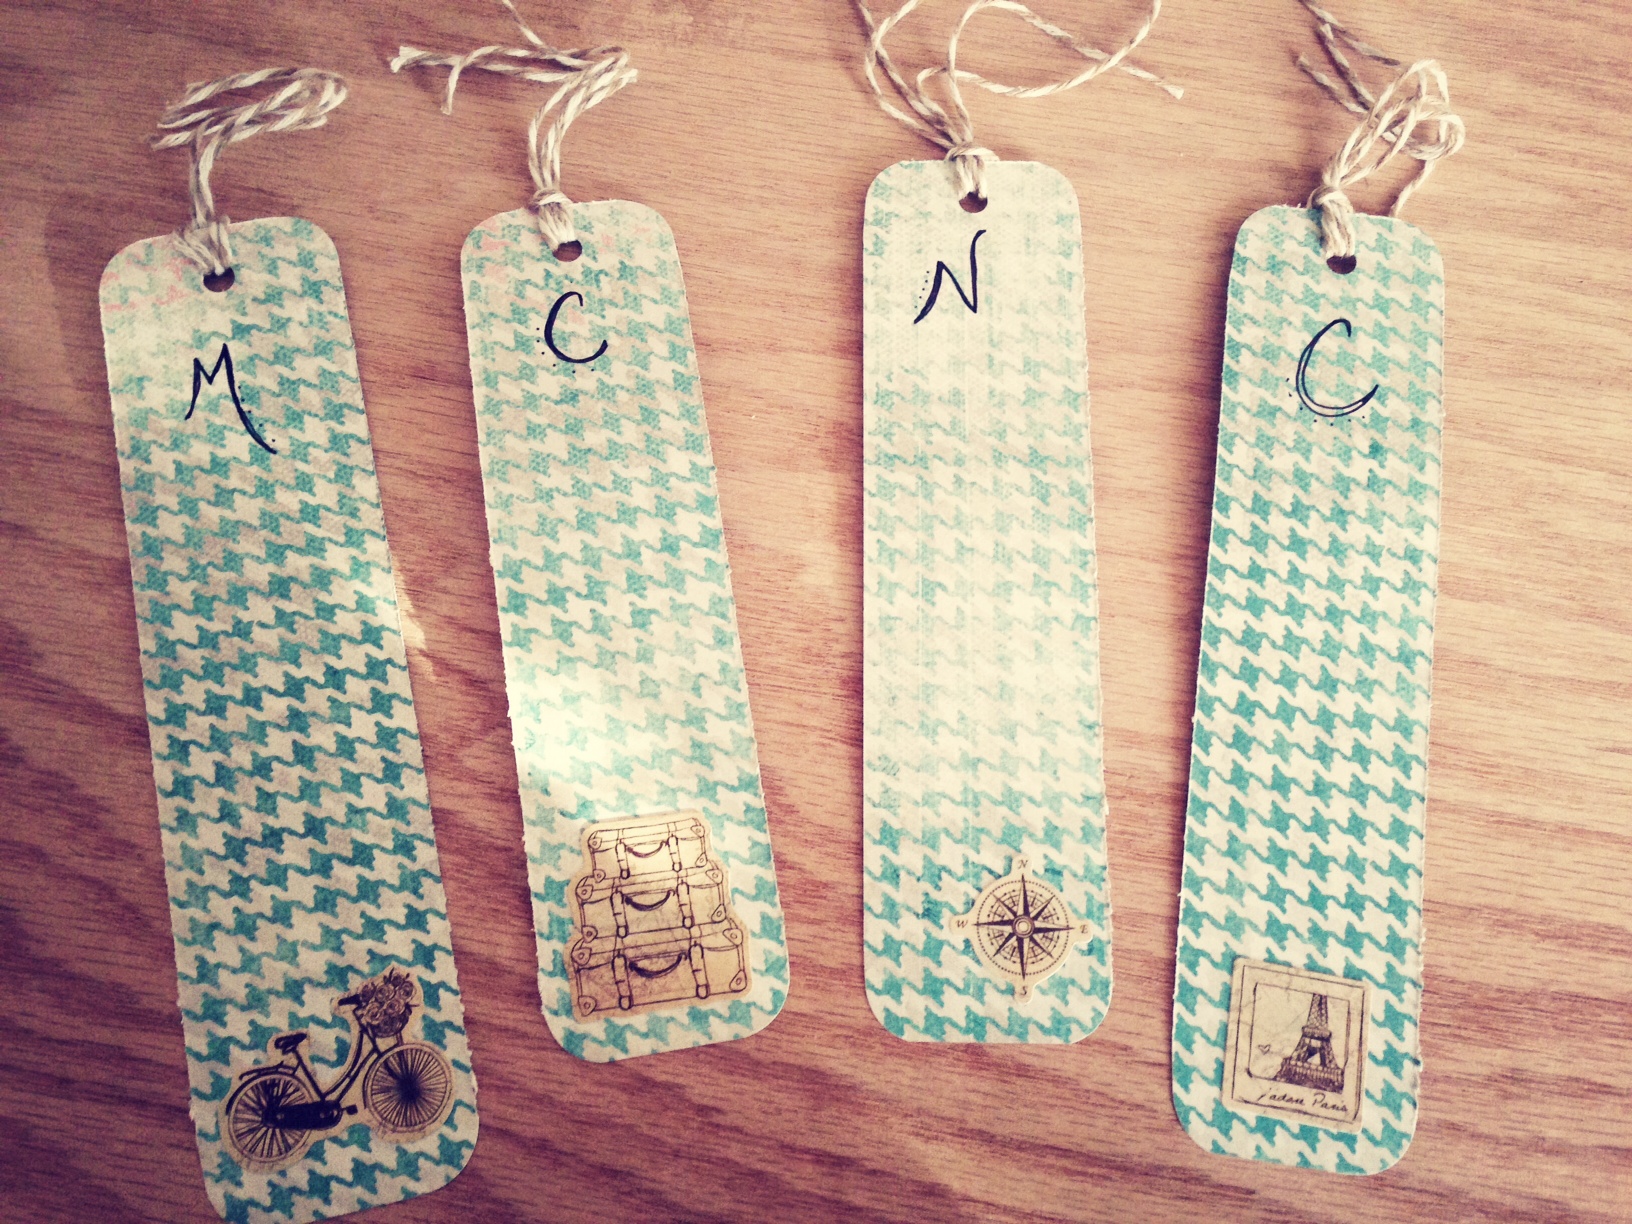
All I did was slice up the paper how I wanted it to fit to the bag. Put a little adhesive on the back, being sure to cover the edges well. Add a Cardstock sticker if you’d like (Or really any little do bobs you might find at the craft store. Like fabric flowers, or buttons.)

photo 2

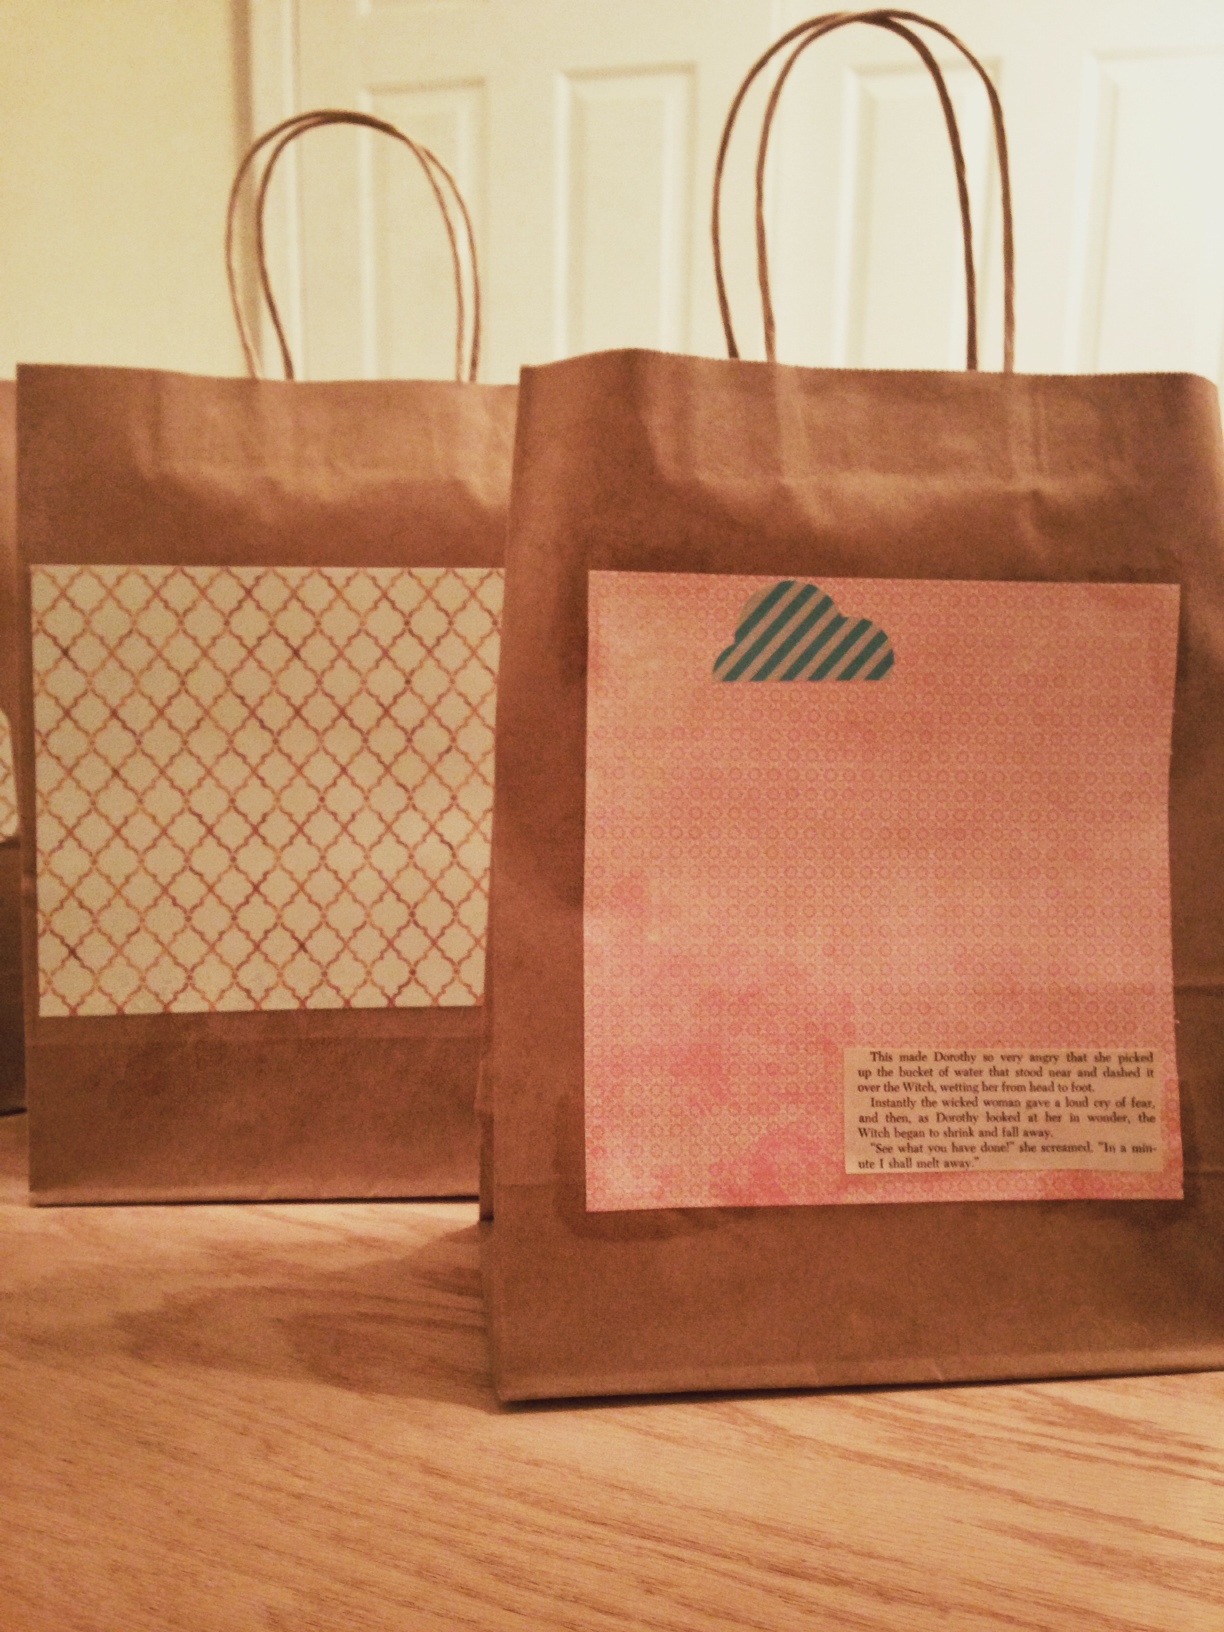
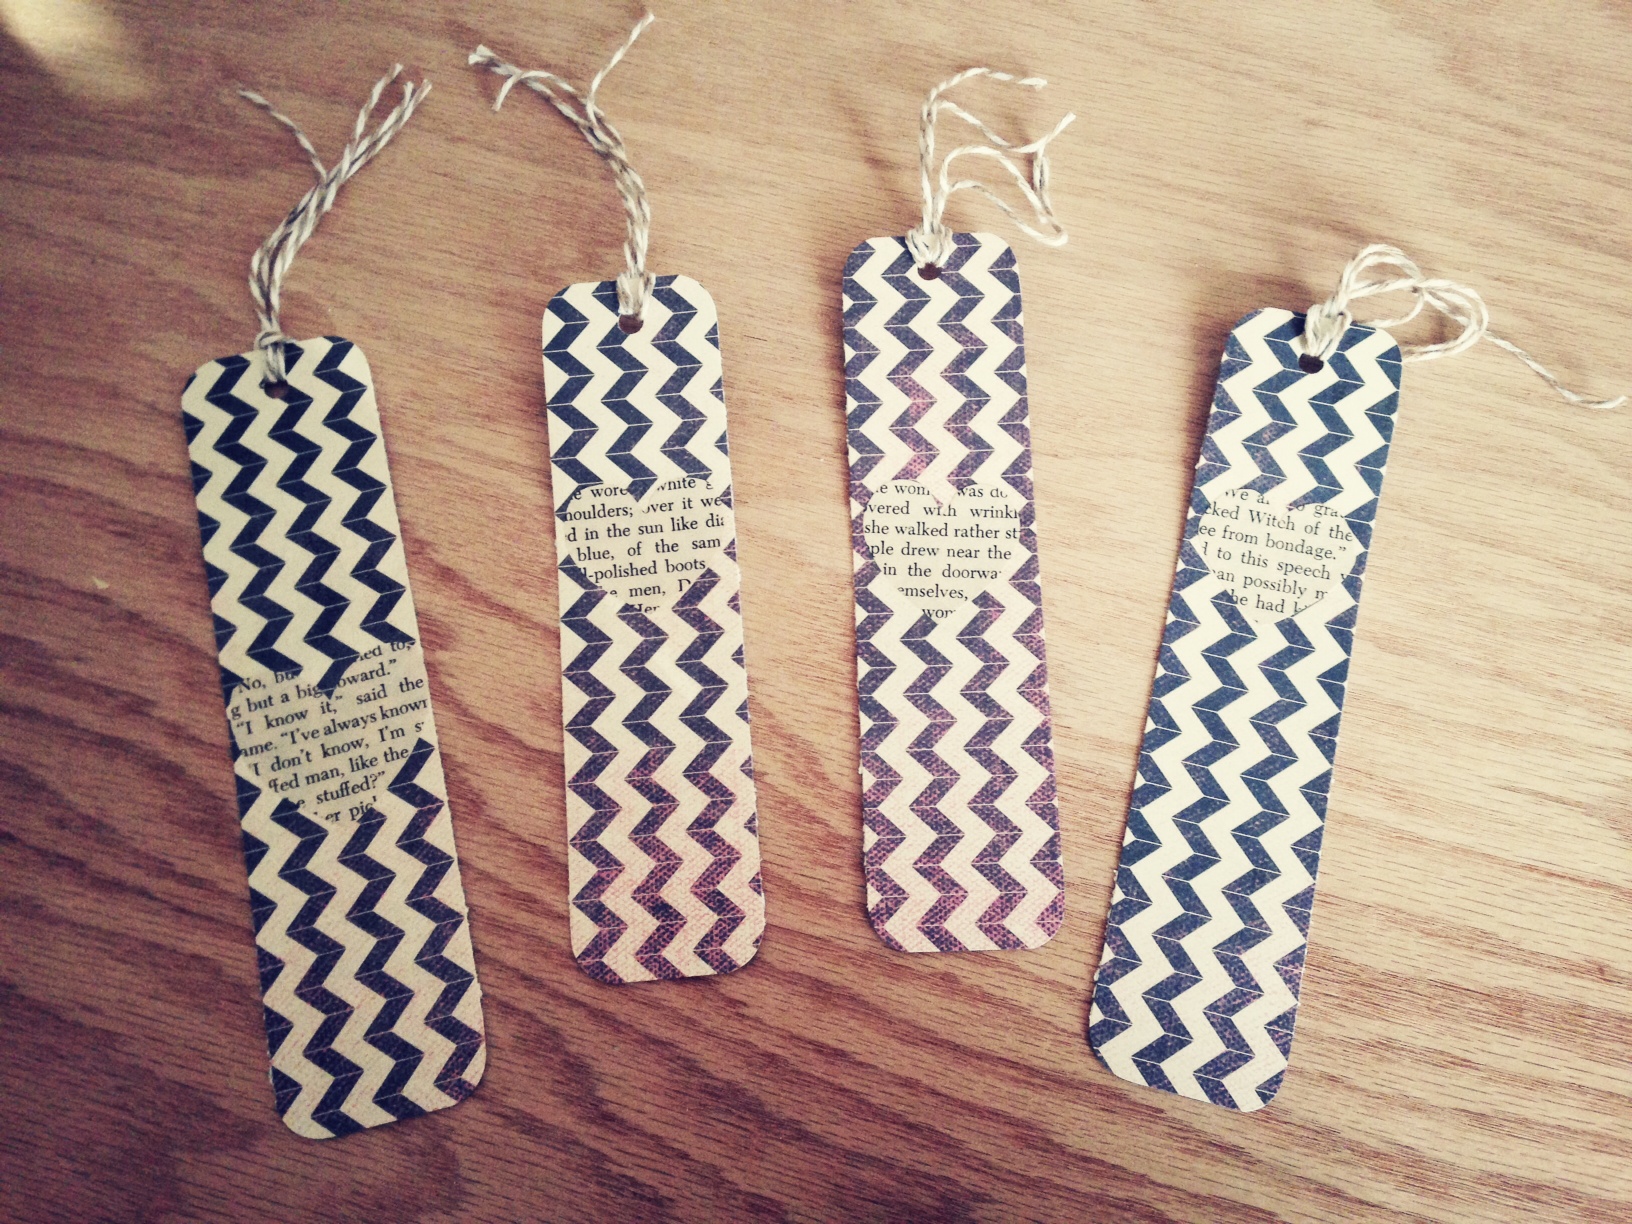
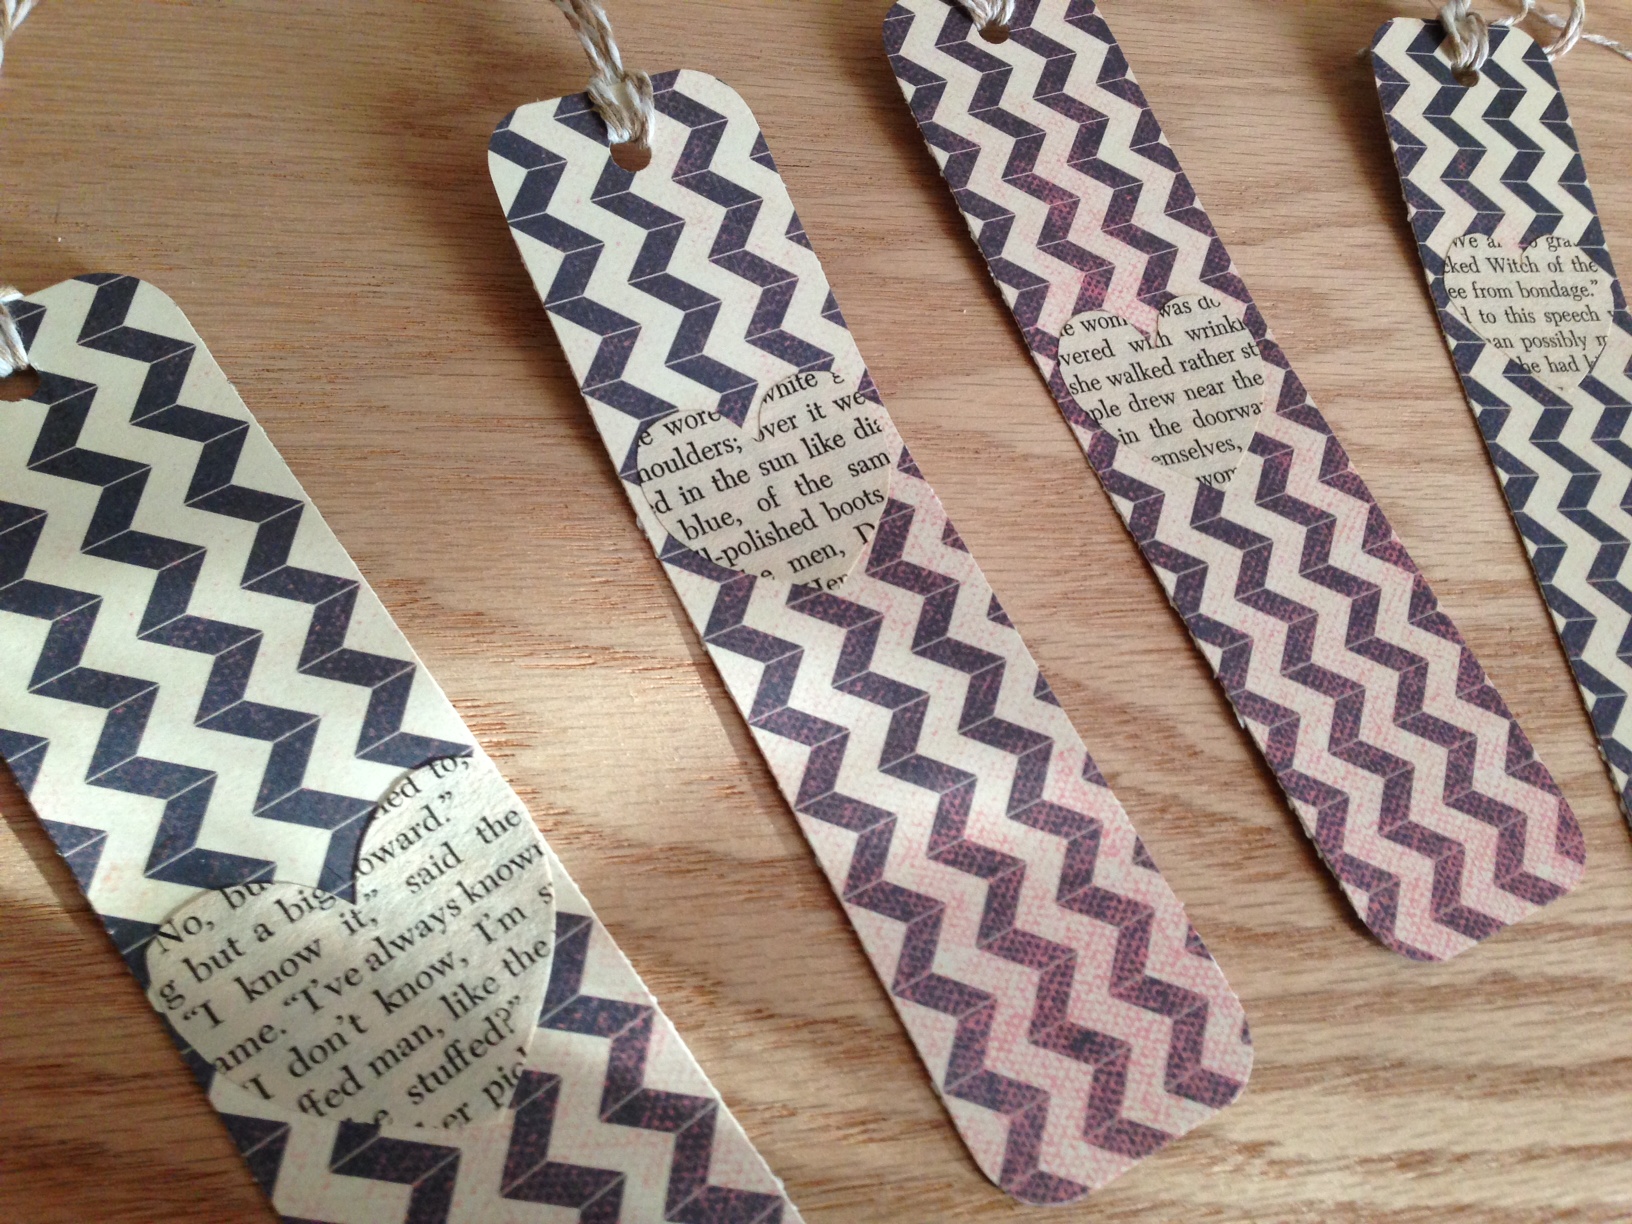
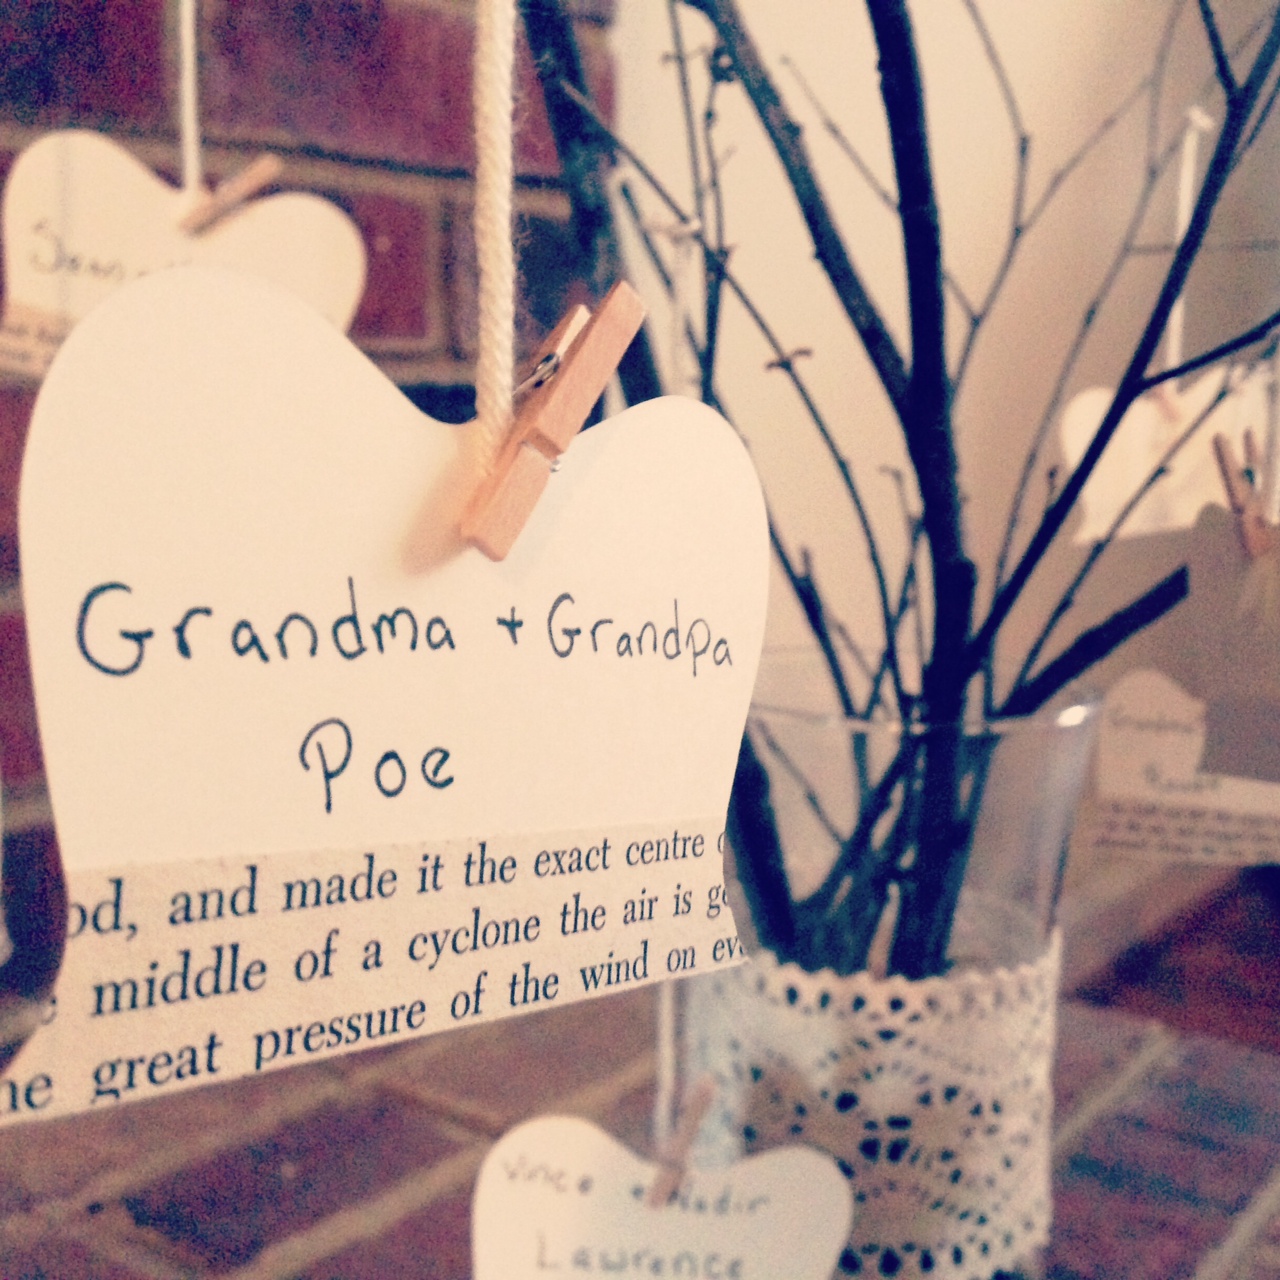
The pink one has part of a book page of course. Cause you know… I love book pages.

Crafting doesn’t have to be difficult, expensive, or time consuming! There you go. Myth Busted! You just have to find the simpler things to get you started. 

Enjoy


A Peek Inside the Craft Room

By Natalie

deskThis room is the only reason why I’m able to complete most all of my crafty endeavors. As an avid crocheter, reader, sewer, and all around crafter I longed for a space to house all of my hobbies, as they were quickly growing out of their homes. I had baskets upon baskets of fabric, and paper craft all over our apartment. When we bought our house we quickly realized that I had enough stuff to load up this room, and I adore the way it came together. Above is the desk that B and his dad built for me. They took my design and ran with it.

photo 1This entertainment center was happily discovered by B’s mom at Goodwill years ago, and if I remember correctly it was a steal at $10! It was in good shape to begin with, with just a few scratches. But nothing major enough that a little wood scratch pen, and murphey’s oil couldn’t solve.

photo (2)

photo 3

image_7

Of course, a quiet spot to read.
 

A few of my favorite pieces

photo 2

image_2   image_3

image_1   image_5

image_4

image_6

photo 4   image

photo (1)

image_8


DIY: Bookmarks

By Natalie

photo 4

So I’ve been on my reading kick lately, and with the new book club we’ve started I figured maybe some fun bookmarks were in order. Originally I had fantastic plans to use fabric scraps, and sew quilted bookmarks. However, I have found with Diy type things that just because something is small does not mean it’s going to be easy! After ruining two of the four quilted bookmarks I gave up. Who knows, maybe one of these days I’ll pick them up and try again, but in the meantime I settled for simplicity.

Personal bookmarks can be such an easy little project. I’m a huge fan of creating something out of things you already have. There’s no need to run to the craft store when you can work with what you’ve got.

Here’s what you’ll need:

  • Cardstock
  • Cardstock Stickers
  • Mod Podge
  • Baker’s Twine
  • Hole Punch
  • Book Page
  • Corner Rounder (Optional)

photo 2

1) I sliced up a patterned piece of cardstock, and then cut hearts out of an old copy of the Wizard of Oz.

I love, love love, using old book pages to decorate. I’ve used them before with the family tree.

photo 1

2) I used a paintbrush to spread mod podge onto the back of the heart. Then applied it to the cardstock. Any type of adhesive would probably work fine.

photo 3

3) I usually like to round off my corners for a nice finish, But that is completely up to you!

image

4) Put a hole punch in the top, and tie off baker’s twine, or ribbon. Whatever you may have that works. I added our initial, and a little cardstock sticker on the back. I’ve been going for more of the minimalist look these days.

photo 5

And Voilà! A bookmark.

Happy Reading!

When Pollen Attacks

By Natalie

To all of you who suffer during allergy season, fear not. You’re not alone. I write to you urgently in between sneezes. I never suffered from allergies, until a couple years ago. Oh what a wonderful 20 years that was. Enjoying the Spring air with no worry of pollen count. My nose is runny, and red. My throat feels tender. My face hurts. Everything in my head feels itchy. I can hear fluid enter my ears while I blow my nose. My coworkers stare, silently telling me that they will not bless me after the third sneeze in a row. I carry around pocket hand sanitzer, as they are convinced I’m a germ cloud. I pick B up from work, tell him about my day, and he chuckles at my congested nasally voice. Personal tissues with Lotion sit at my desk at work. Honey and tea now sit with my regular sandwich in my lunchbox. (more…)

DIY: Family Tree

By Natalie

image (1)Many families choose have a gallery wall of family photos to display. I wanted to have something that incorporated our family in our home, but also fit well with our rustic theme. I came across this simple family tree on Pinterest. FamilyTree The best part about this project was that I didn’t have to purchase anything for it. Those are the best kind of DIYs. I have so many empty bottles and vases under my sink that I’m saving for some important purpose.Always good to save, you never know when they can come in handy.

Here’s what you’ll need…

  • Vase or bottle
  • Twigs from your own back yard
  • Yarn or String
  • Pictures, or Card stock to write names on.
  • Adhesive
  • Book Pages (Optional)
  • Pebbles (Optional)
  • Clothespins (Optional)

Decorate your vase however you’d like. I added a small piece of lace around mine. Toss your twigs in the vase, breaking off any small pieces that don’t fit right. I added small pebbles at the bottom of the vase to help the twigs stay as upright as possible. Then decide whether you want to cut out pictures of your family or write their names on paper. I preferred the uniform look of names on paper. Yes, I am that OCD. The book pages at the bottom of the cardstock was a last minute decision and I love the way they turned out! Old books are also a great thing to keep laying around. There are so many crafts that can be given a vintage touch by adding book pages. If you don’t have any books you want to tear the pages out of find out when your library is having a sale. Usually you can fill up a box or bag for chump change. Hit up Goodwill or a yard sale in the spring. My sister is a 4th grade teacher, and she was organizing her classroom’s library when she came across a beat up version of the Wizard of Oz. She was about to toss it as I looked on eagerly. Well if you’re going to toss it then I’ll take it! I said. A nice classic book is always nice to have for craft projects like this because if anyone gets close enough to read the page there won’t be anything odd on the cut outI’m speaking from personal experience of course.. If you are using book pages, cut them to fit the cardstock, and glue them together. Then punch holes through and attach the yarn. I used little clothespins I had from when I made my front door frame decor. If you don’t have clothespins you can always glue or tie your string to your cardstock or photo. All you have left to do is tie the string to the top of your twigs and voilà! You have yourself a family tree. image

Minestrone Soup

By Natalie

I’m a huge fan of one dish meals, which makes soup one of my favorite easy go to dinners. I just so happen to be making this soup tonight, as it’s an excellent soup to have on a rainy day with a sick hubby.

Ingredients:

  •  1 can Great Northern Beans
  • 2 tbsp Olive Oil
  • 3 Carrots (peeled & chopped)
  • 3 Celery Stalks (chopped)
  • 1 Onion (finely chopped)
  • 2 oz Bacon
  • 3-4 Large Potatoes
  • 1 Garlic Clove (minced)
  • 1 can Diced Tomatoes
  • 3.5 cups Chicken Broth
  • 1 cup Water
  • Fresh Pesto

min


Serves 6-8

Heat oil over medium heat in pot. Add carrots, celery, onion, and bacon. Cook for 10min or until onions begin to brown, stirring occasionally. Add potatoes and garlic (Zucchini, Cabbage; optional) stir. Add chicken broth, tomatoes with their juice, and 1 cup of water; heat to boiling over high heat. Reduce heat to low; Cover and simmer 30min or until veggies are tender.

Meanwhile prepare pesto. My pesto recipe is here.

Blend 1/2c beans with 1c of soup until pureed. Stir salt, bean puree, & remaining beans into soup. Heat to boiling. Reduce heat to low; cover & simmer 10min. Garnish with dollops of pesto. This soup pairs well with fresh bread. If you’re feeling up for it this is the recipe I use.

Bon apétit!

DIY: Not Your Average Door Wreath

By Natalie

When we bought our house I was anxious to decorate and organize our new space. It was something I had dreamt about from the second we made an offer. Once we were moved in and had put our furniture where it belonged it was time to tweak the smaller details. The holidays were coming up so I began searching for ideas on how to make my own front door wreath. I found a lot of pretty seasonal ones, but I figured if I’m going to spend the money to make it why not make one that I can keep up year round? Then the hubs might be a little more willing to give his blessing for the project.

I found that I liked the idea of using an empty frame instead of the typical circular wreath. I knew what I wanted to make, and how to do it, all I needed were some supplies and a shopping buddy. Luckily for me time spent with my beloved friend Chloe was well over due, so we set up a time to meet.

One thing you have to know about Chloe is that she is the best/most dangerous shopping buddy. She thinks everything looks good on you, and makes you think you are a million bucks. Every girl needs a friend like her. This is what I turn into when I go shopping with Chloe…

all the things

We decided to go to Hobby Lobby, where I found the perfect wooden frame. Then I grabbed some fabric triangles to turn into bunting for the top of the frame. I thought I was done when I chose mini clothespins to attach the fabric triangles to a string. However since I was with the best shopping buddy in the world, she assured me that adding a few fabric flowers would surely complete the piece. A little hot glue and a staple gun is all I needed to finish this sweet touch to our home.

photo copy

Oh and a handsome handy man of the house to hang it straight of course.

Homemade Pesto

By Natalie

photoI came across a recipe in one of my cookbooks for Minestrone Soup a while ago that seemed perfect for the rainy cold day that it was. It’s an easy soup to make, and it’s very satisfying. The recipe called for pesto, and it didn’t seem to big of a task to take on, so I tried it. The recipe is very simple, only calling for a few ingredients that are most likely sitting in your kitchen this very moment, waiting to be used.

Pesto:

  • 2/3c packed fresh basil leaves
  • 1/4c grated parmesan
  • 1/4c olive oil
  • 1tbsp water
  • 1tsp salt

All you have to do is blend  all of your ingredients together until smooth. I used a Ninja which I would highly recommend. The smaller piece worked perfectly for the pesto. I’m sure a magic bullet or small food processor would work just as well. That’s it! Easier than you imagined right? If you plan on making extra, it stores well in the fridge. The only trick is to put a generous amount of olive oil at the top of your jar to keep it fresh. Try it in soup, with pasta, or on bread. Bon appétit!

1 2 3 4