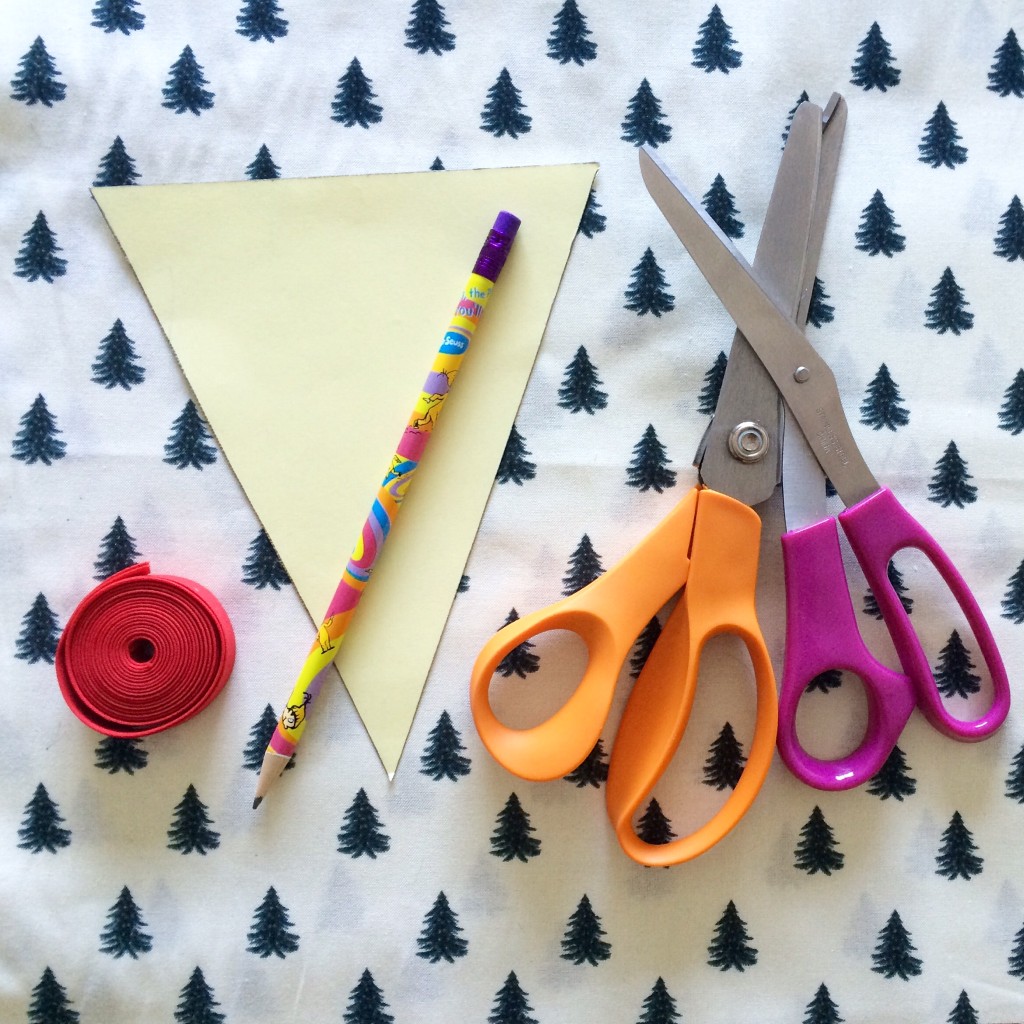
Here’s what you’ll need…
- 2-3 feet of Fabric (Depending on how long you want your bunting to be.)
- Fabric Scissors
- Pinking Shears
- Double Fold Bias Tape
- Matching Thread
- Pencil
- Iron
- Stencil
- Sewing Machine
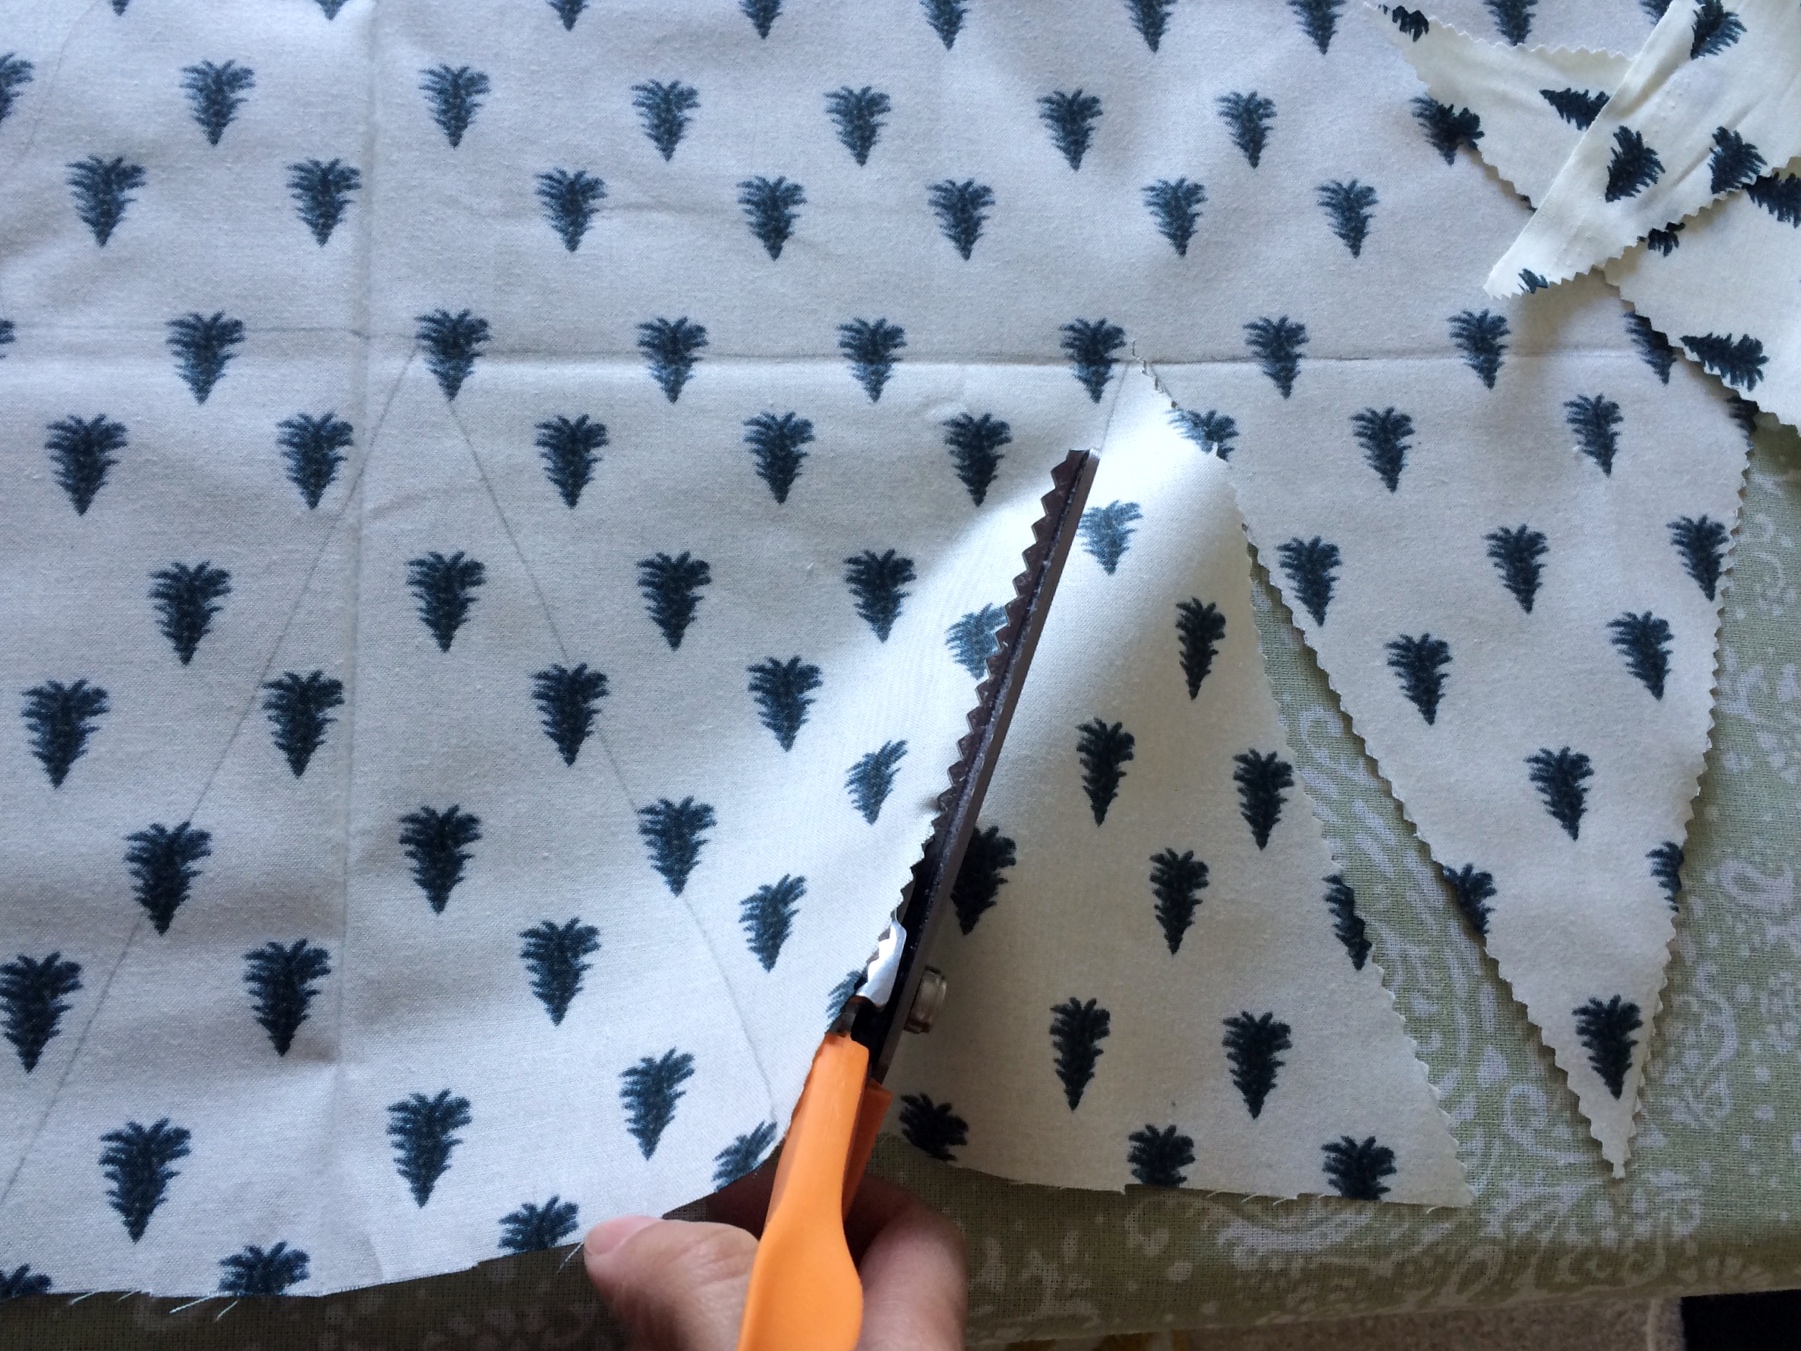
I have been sewing for about three years, and I still make some serious rookie mistakes. Since I purchased pinking shears, buntings have been my favorite easy sewing project. I found this fabric, and thought I was being conscious of getting only as much as I needed, only to find out that once I cut out my triangles, half of them would reveal upside down christmas trees! Apparently I’d never used a print that it mattered which way I cut. Rookie mistakes.

Sometimes even the easiest of DIYs can turn out to be a headache. Don’t fret! You are not alone.
I made a stencil a while back out of a piece of cardstock, and would highly recommend doing so, as it makes your tracing much quicker. I simply used a straight edge to measure out how large of a triangle I wanted, and cut my piece of cardstock.
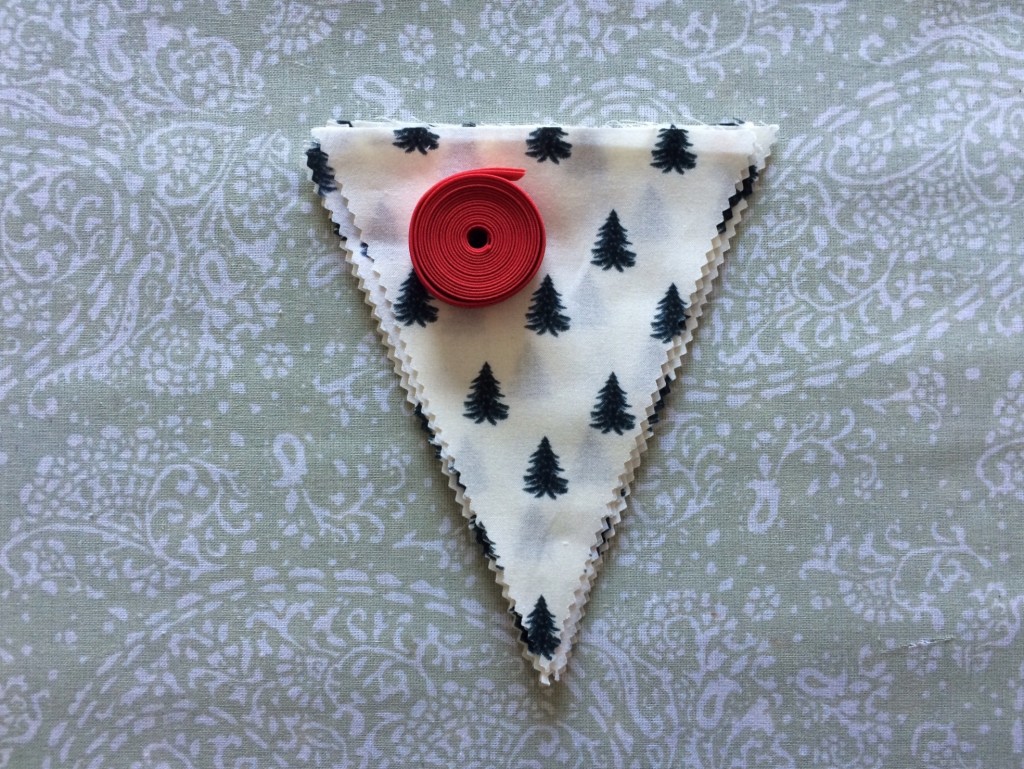
Once you’ve made a stencil lay it on the back of your fabric and trace away. (This is where I bring the ironing board into the living room, and start a netflix show)
When you’ve finished tracing, use your pinking shears to cut the triangles out. Pinking shears keep your fabric from fraying. Which is why you won’t need to sew a front and back piece together for this type of bunting. At some point I’m sure the fabric cut with the shears would fray after a little wear and tear, but since buntings are merely decorative, and I swap them out through the seasons, I’ve never felt the need to make them double sided. It should take a long time for them to actually start fraying.
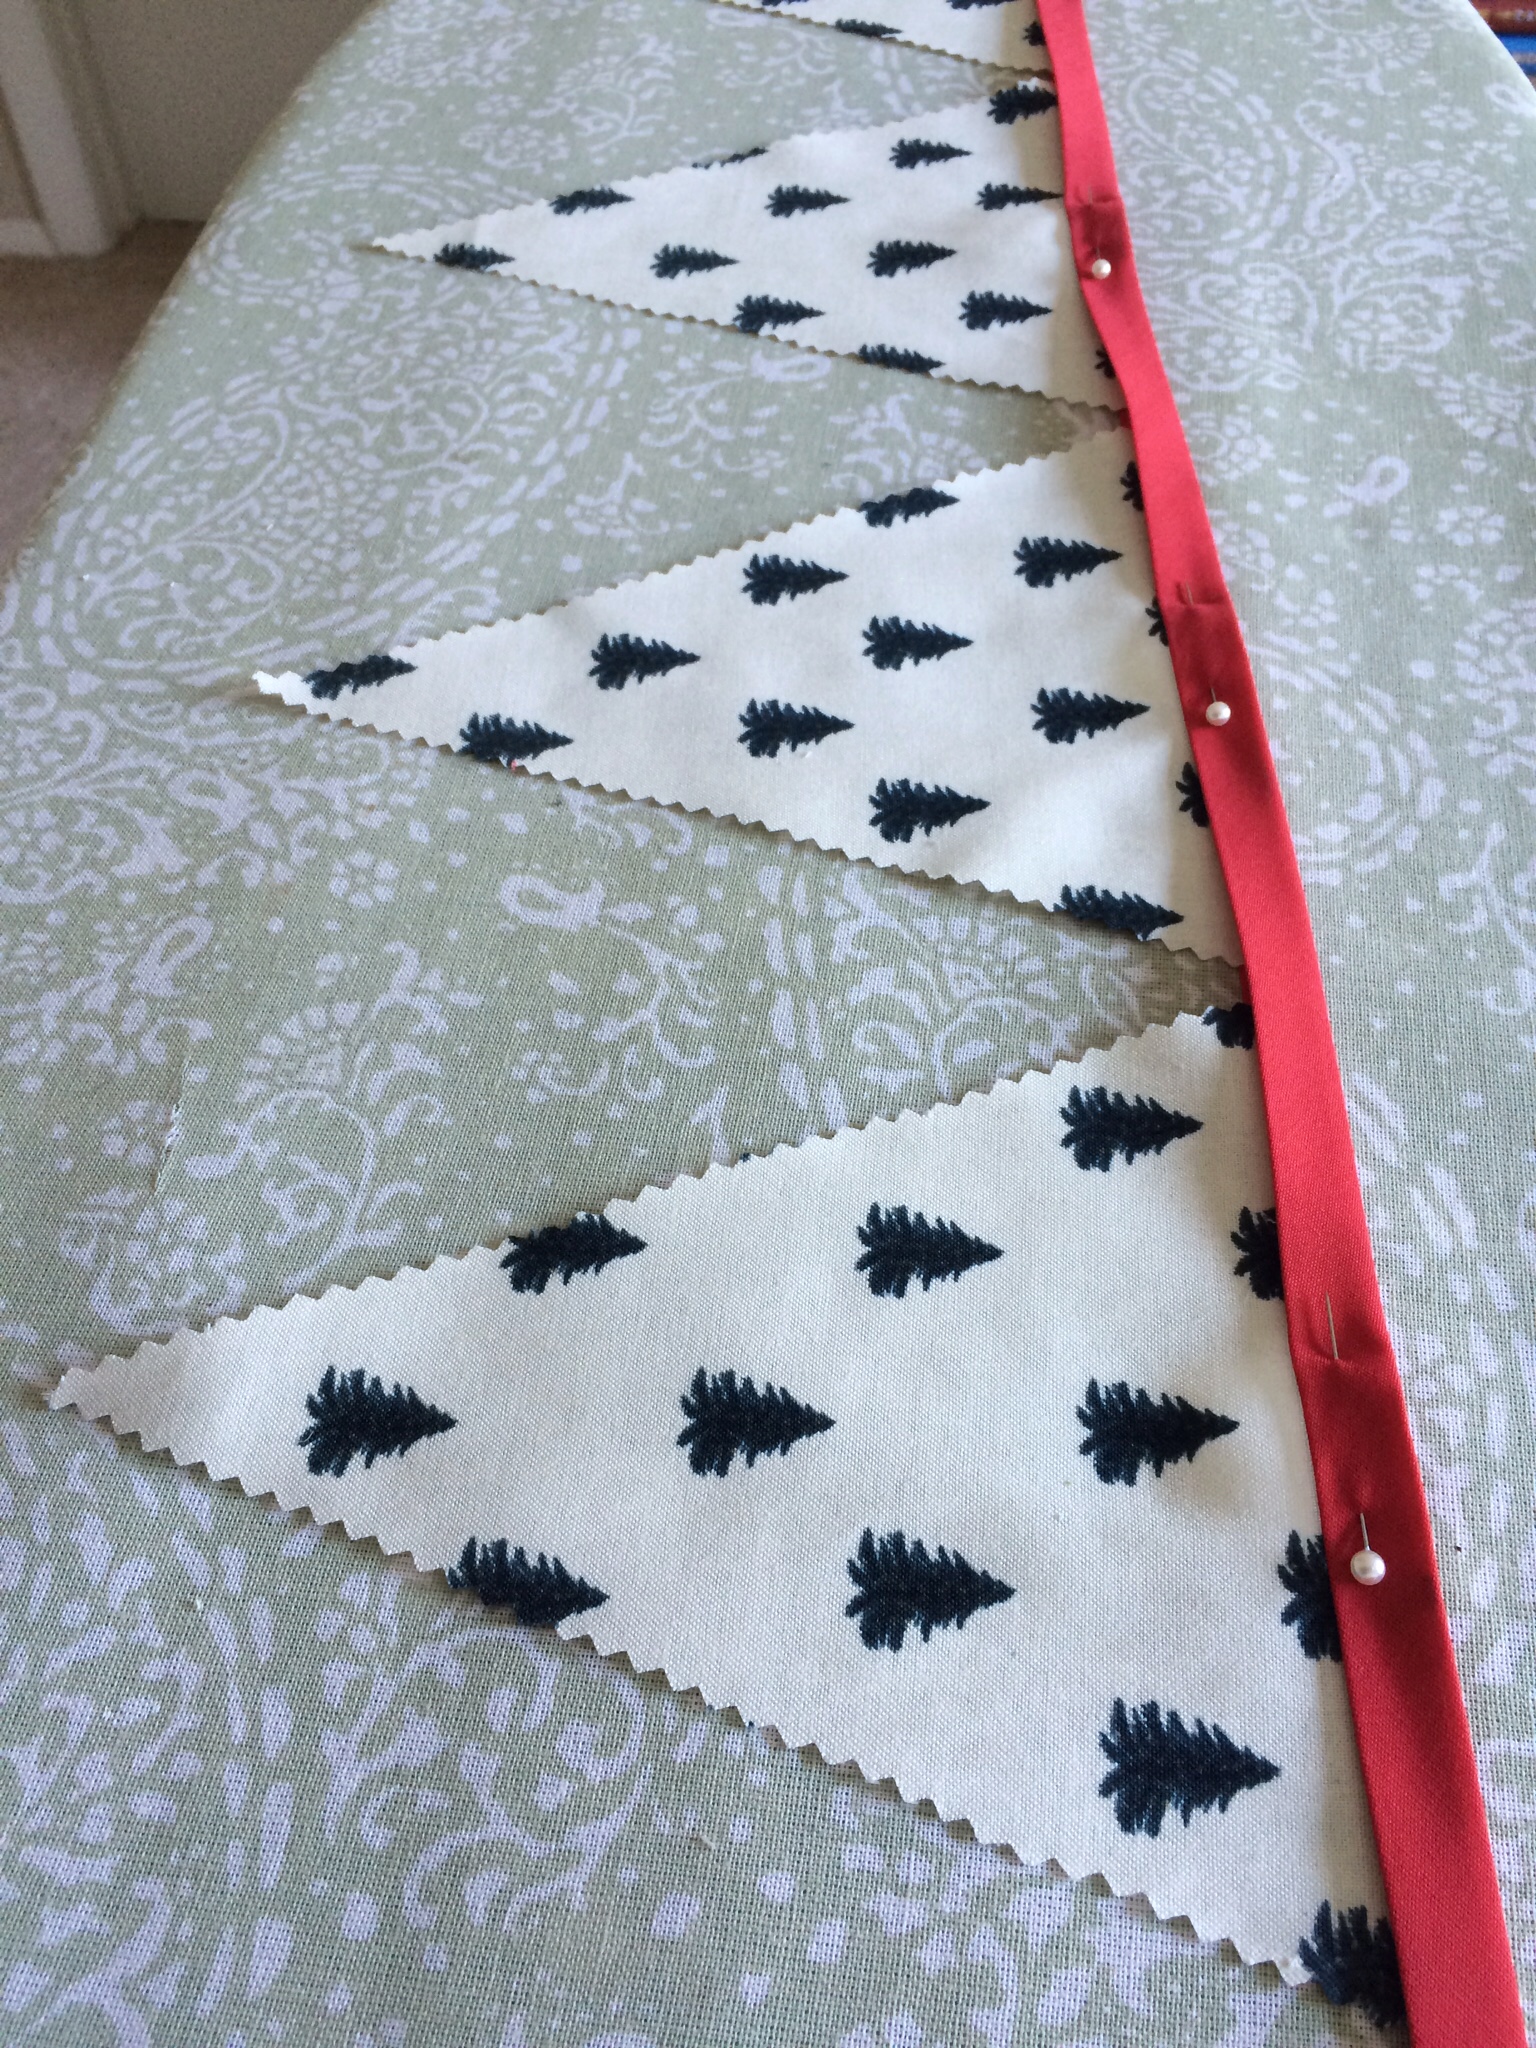
 Once you’ve cut out your triangles you’ll want to iron out any wrinkles or folds before you place them in the double fold bias tape. Bias tape can be found in most craft stores near the threads, zippers, and other bindings. Just a tip I could have used when I found myself walking up and down the ribbon aisle looking for whatever that stinking bias tape was.
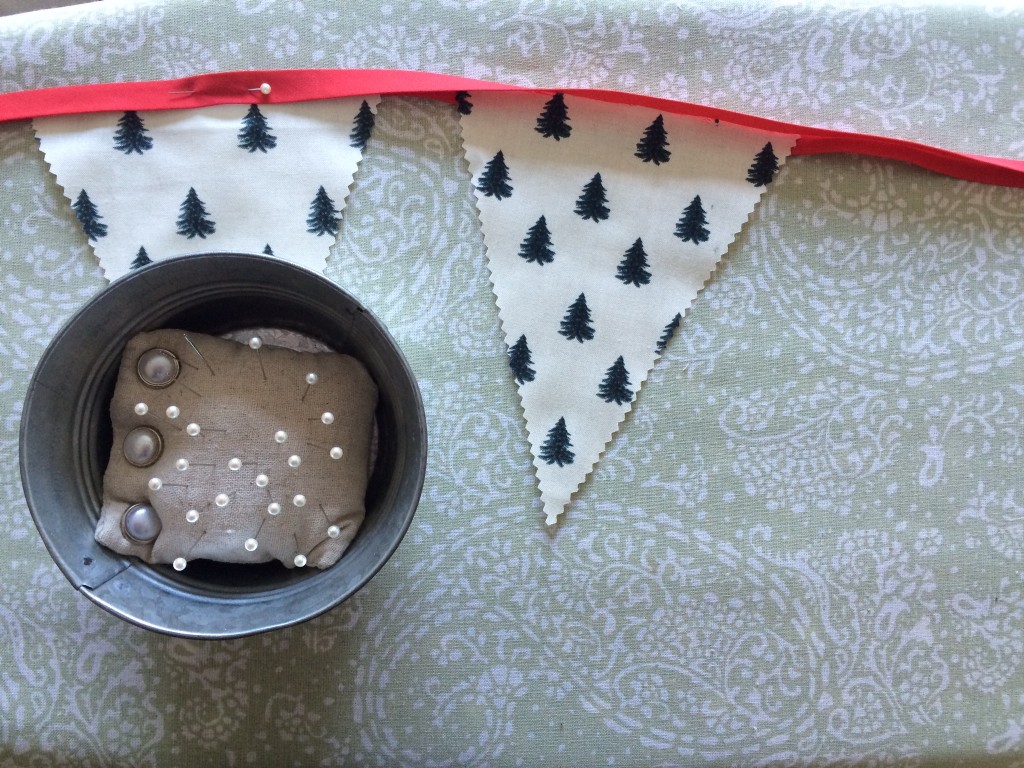
Pin your work together like so, and carefully carry it over to your sewing machine.

I like to use a zig zag stitch, to match the look of the cut outs, and just because I feel like it holds better.

Keep your pin cushion close to discard each pin as you go. You may need to readjust as you go, and be sure to keep your cut outs pushed all the way up to the bias tape fold.
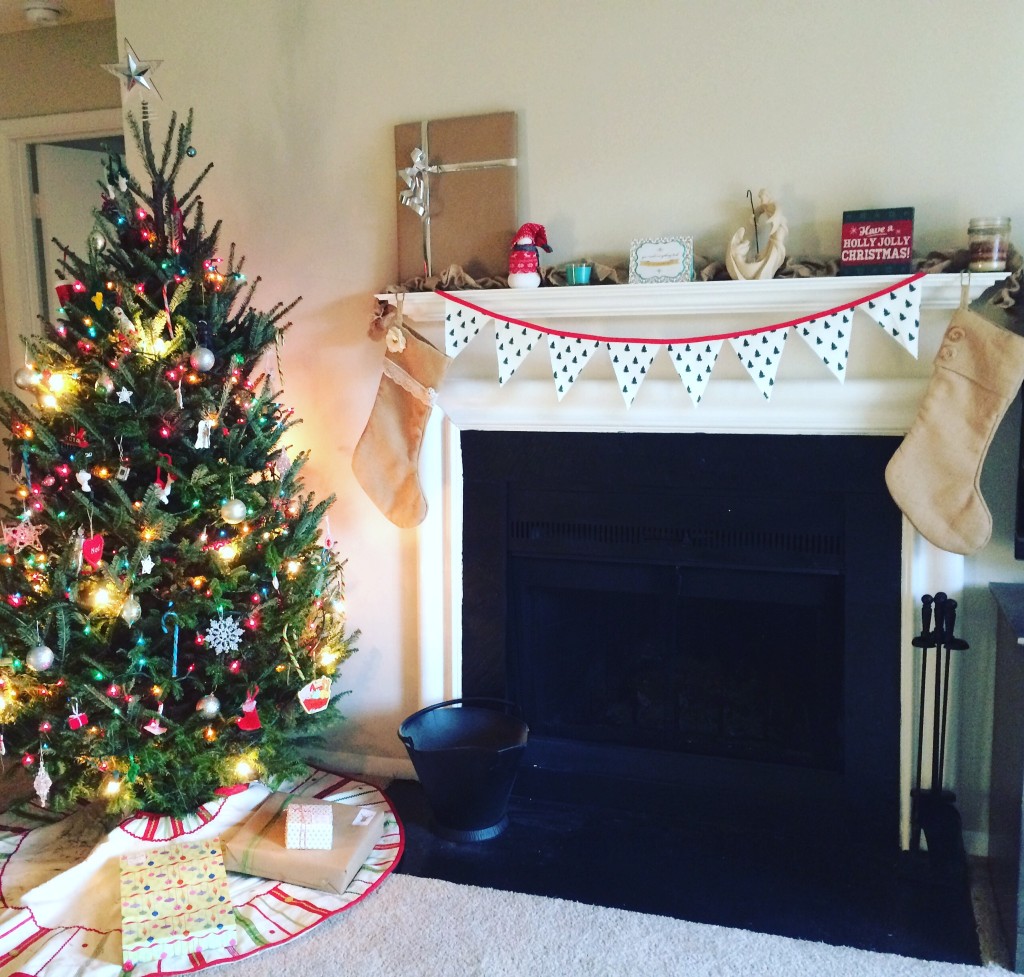
Once you’ve finished your work should look something like this↓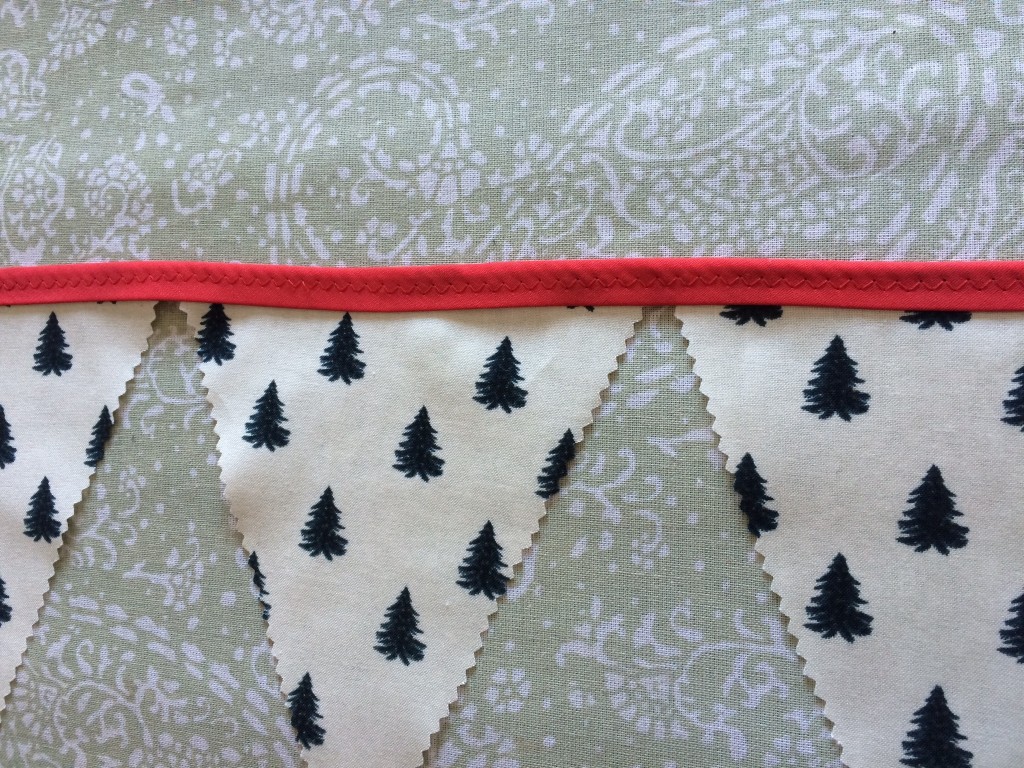
Hang it up, and enjoy the fruits of your labor!

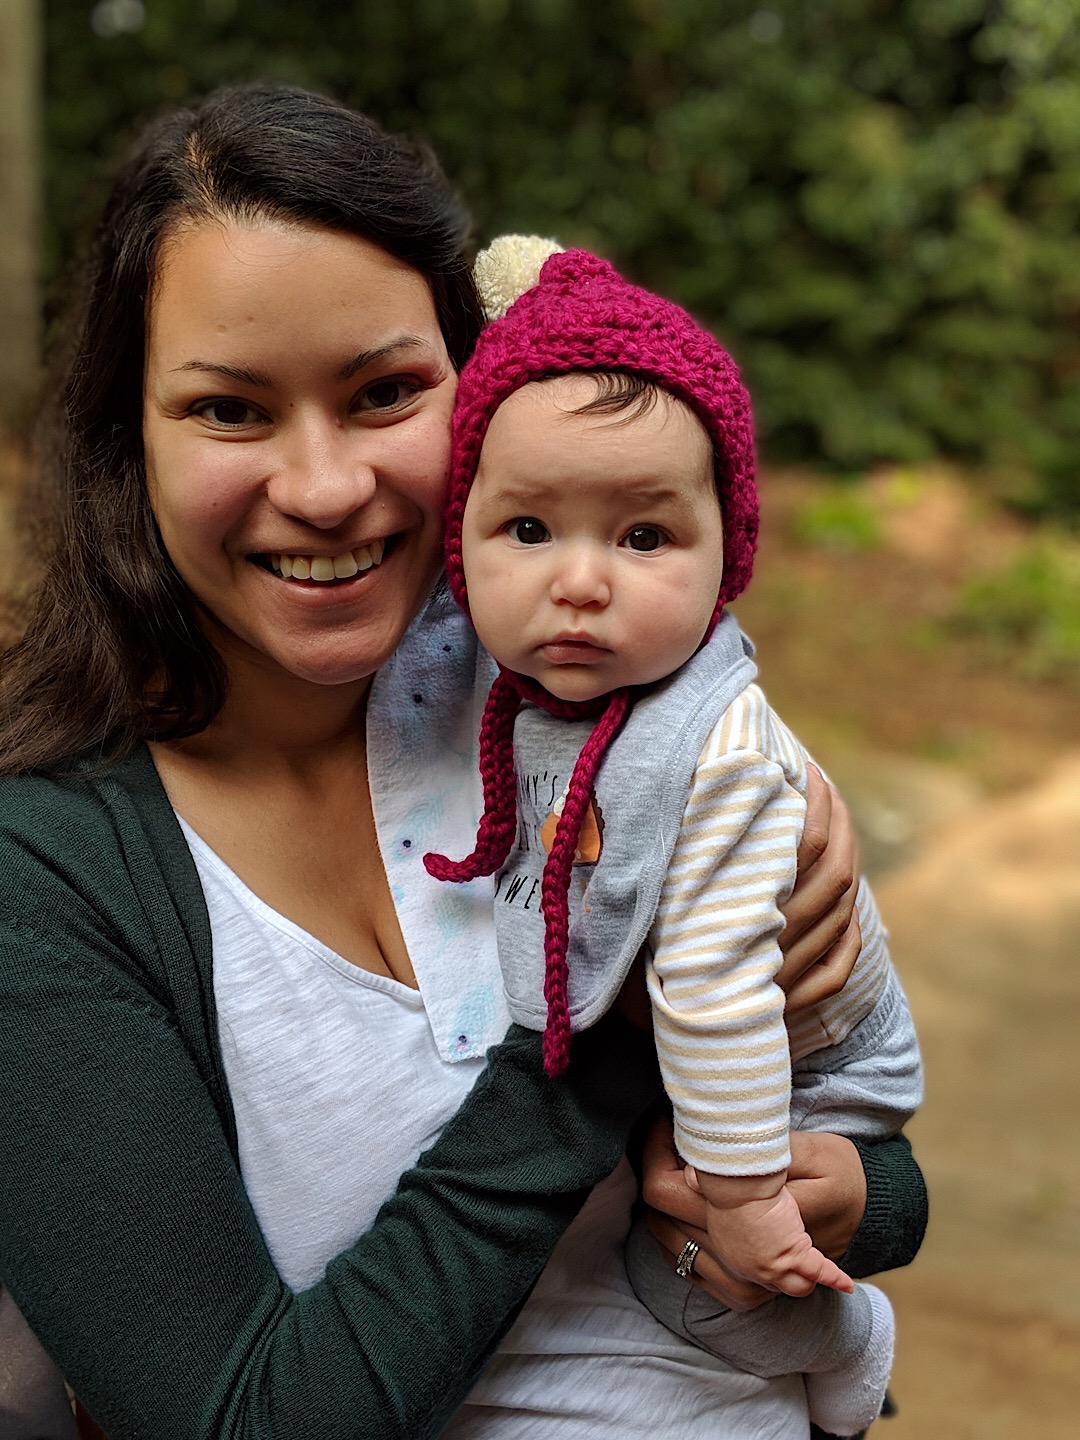
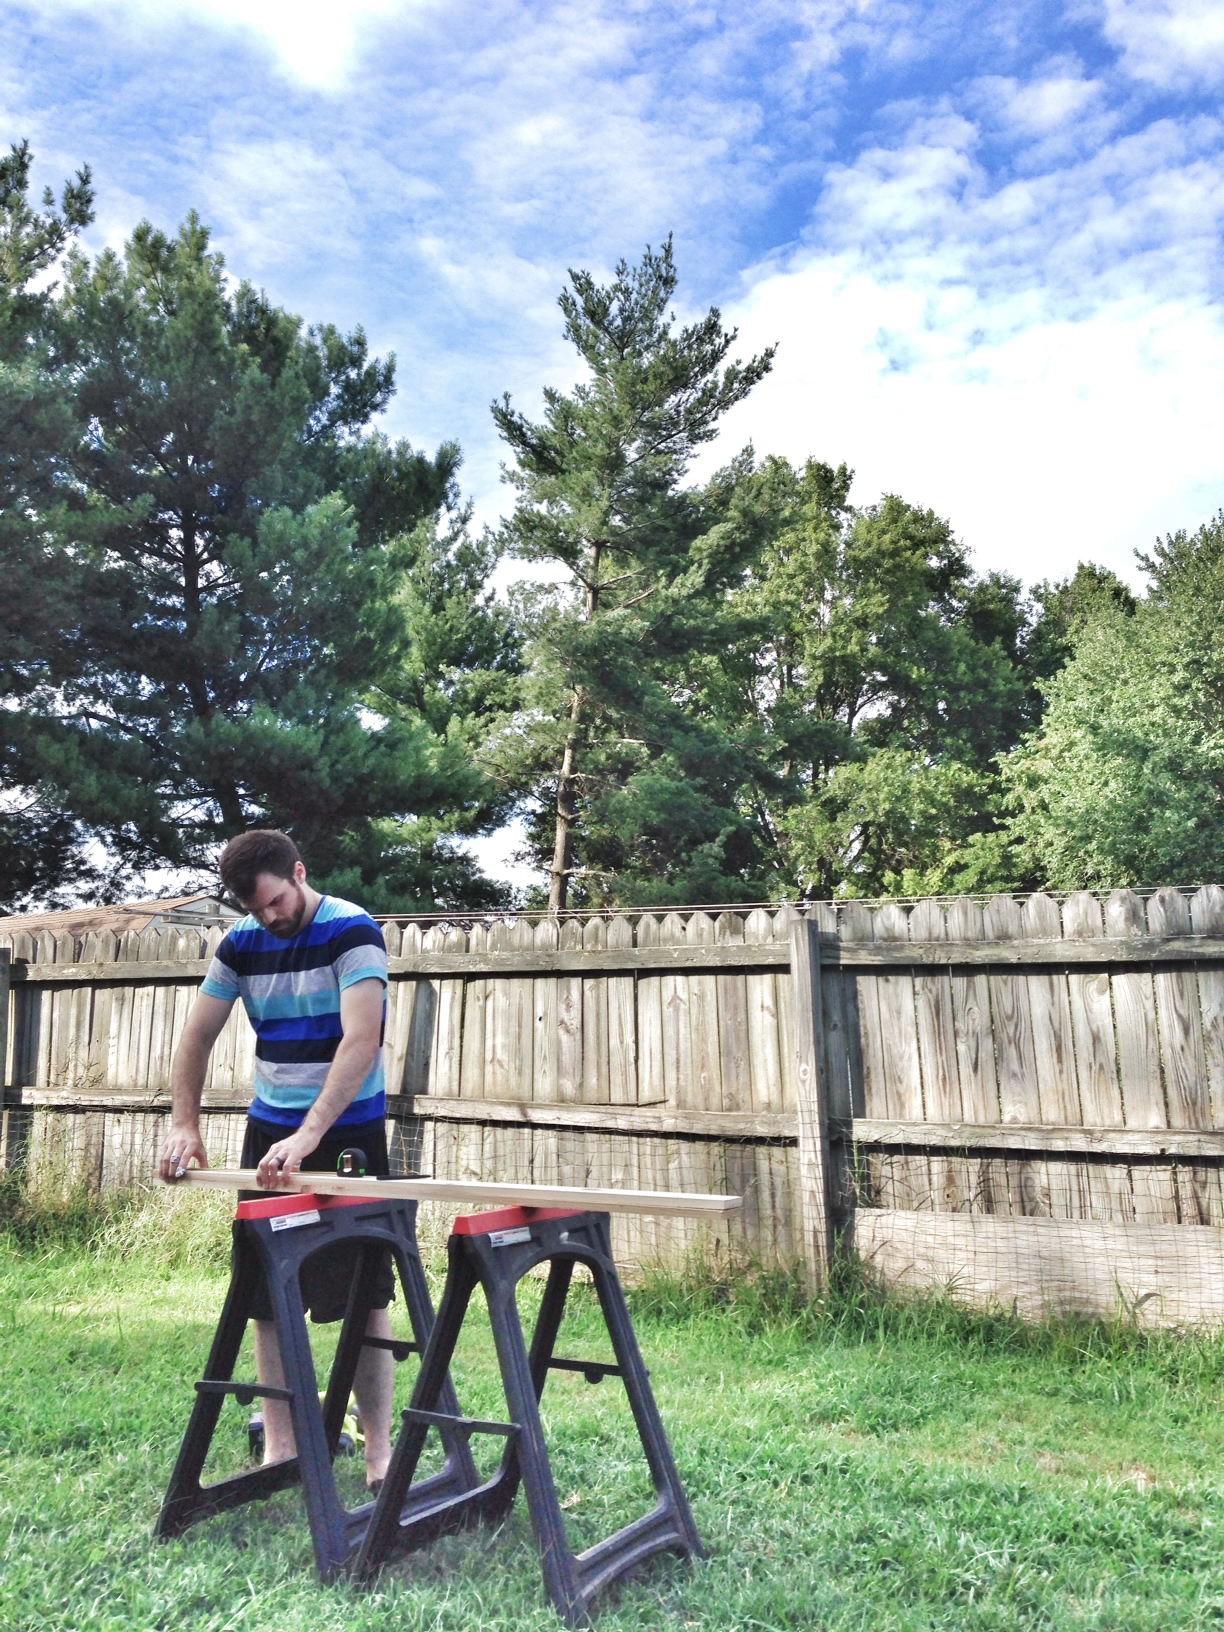
 How’s your summer? It’s hot and humid around here but none of us are protesting these beautiful rays of sunlight. Our favorite family activity this season has been the splash pad near us. Felicity loves running through the water, pinching her shoulder up to her cheek as a fountain of water gushes up unexpectedly beside her. (more…)


